
· By Stephen Peterson
Engraving Your Yeti: A Simple Guide to Customization
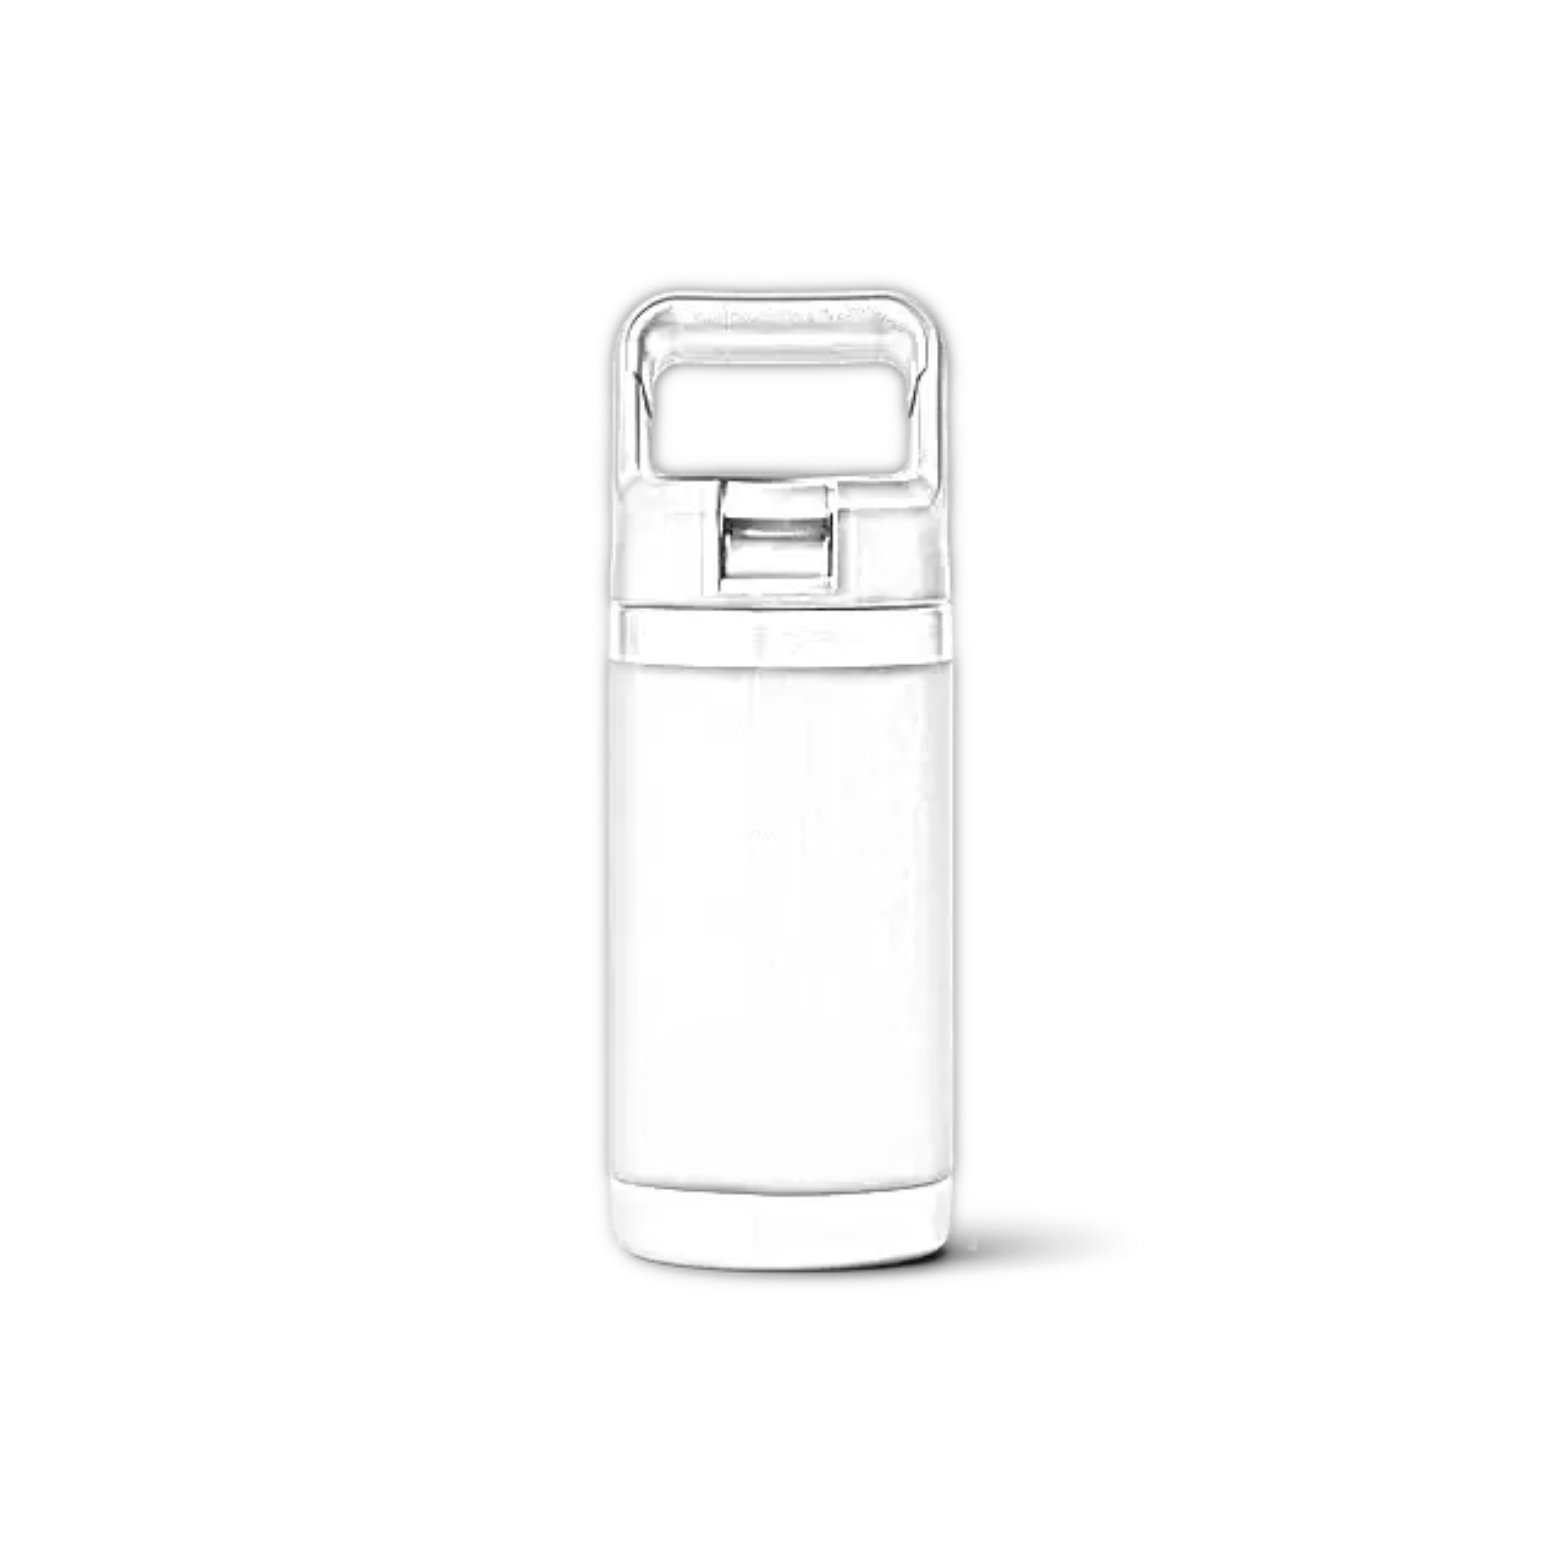
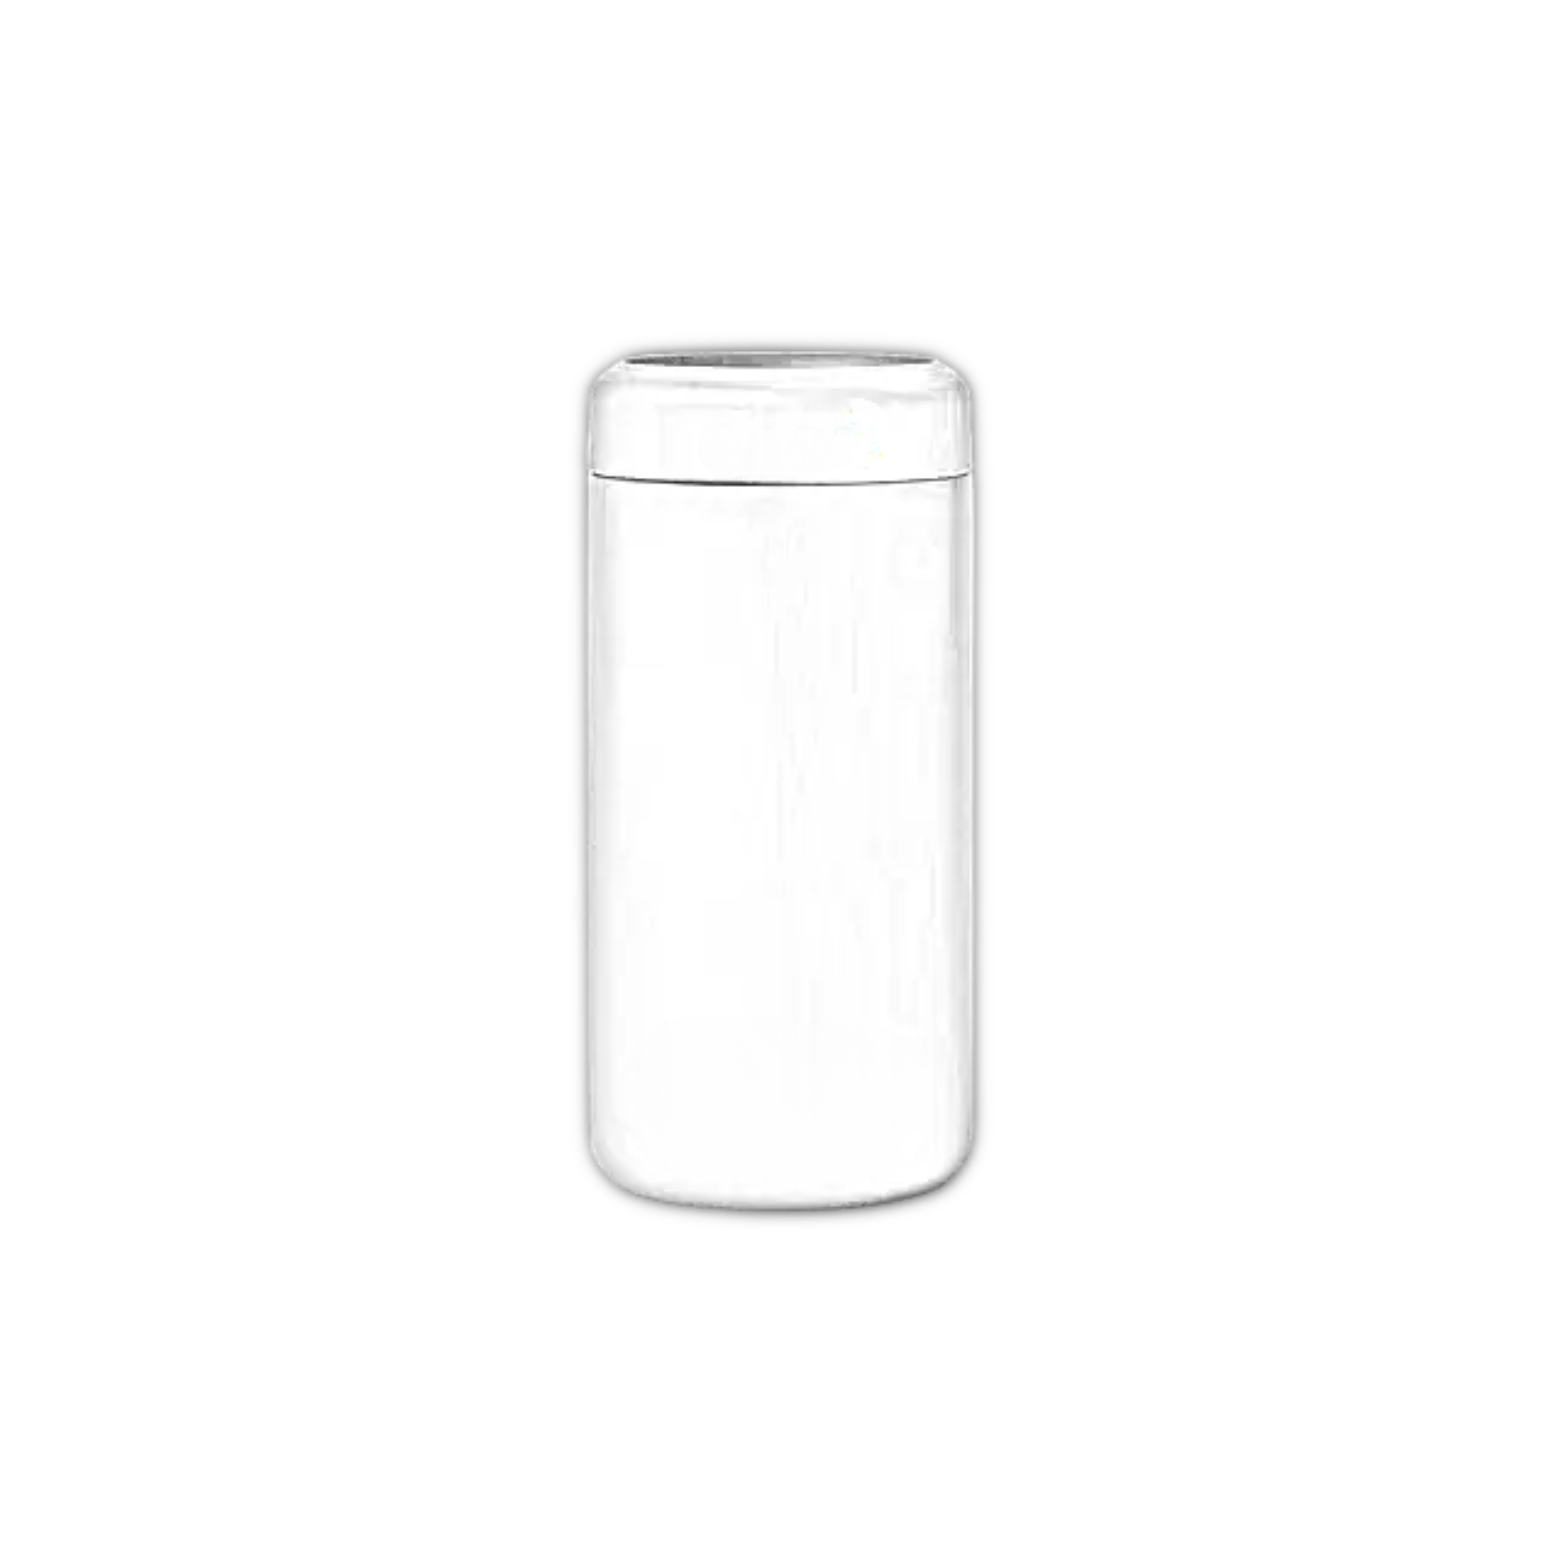
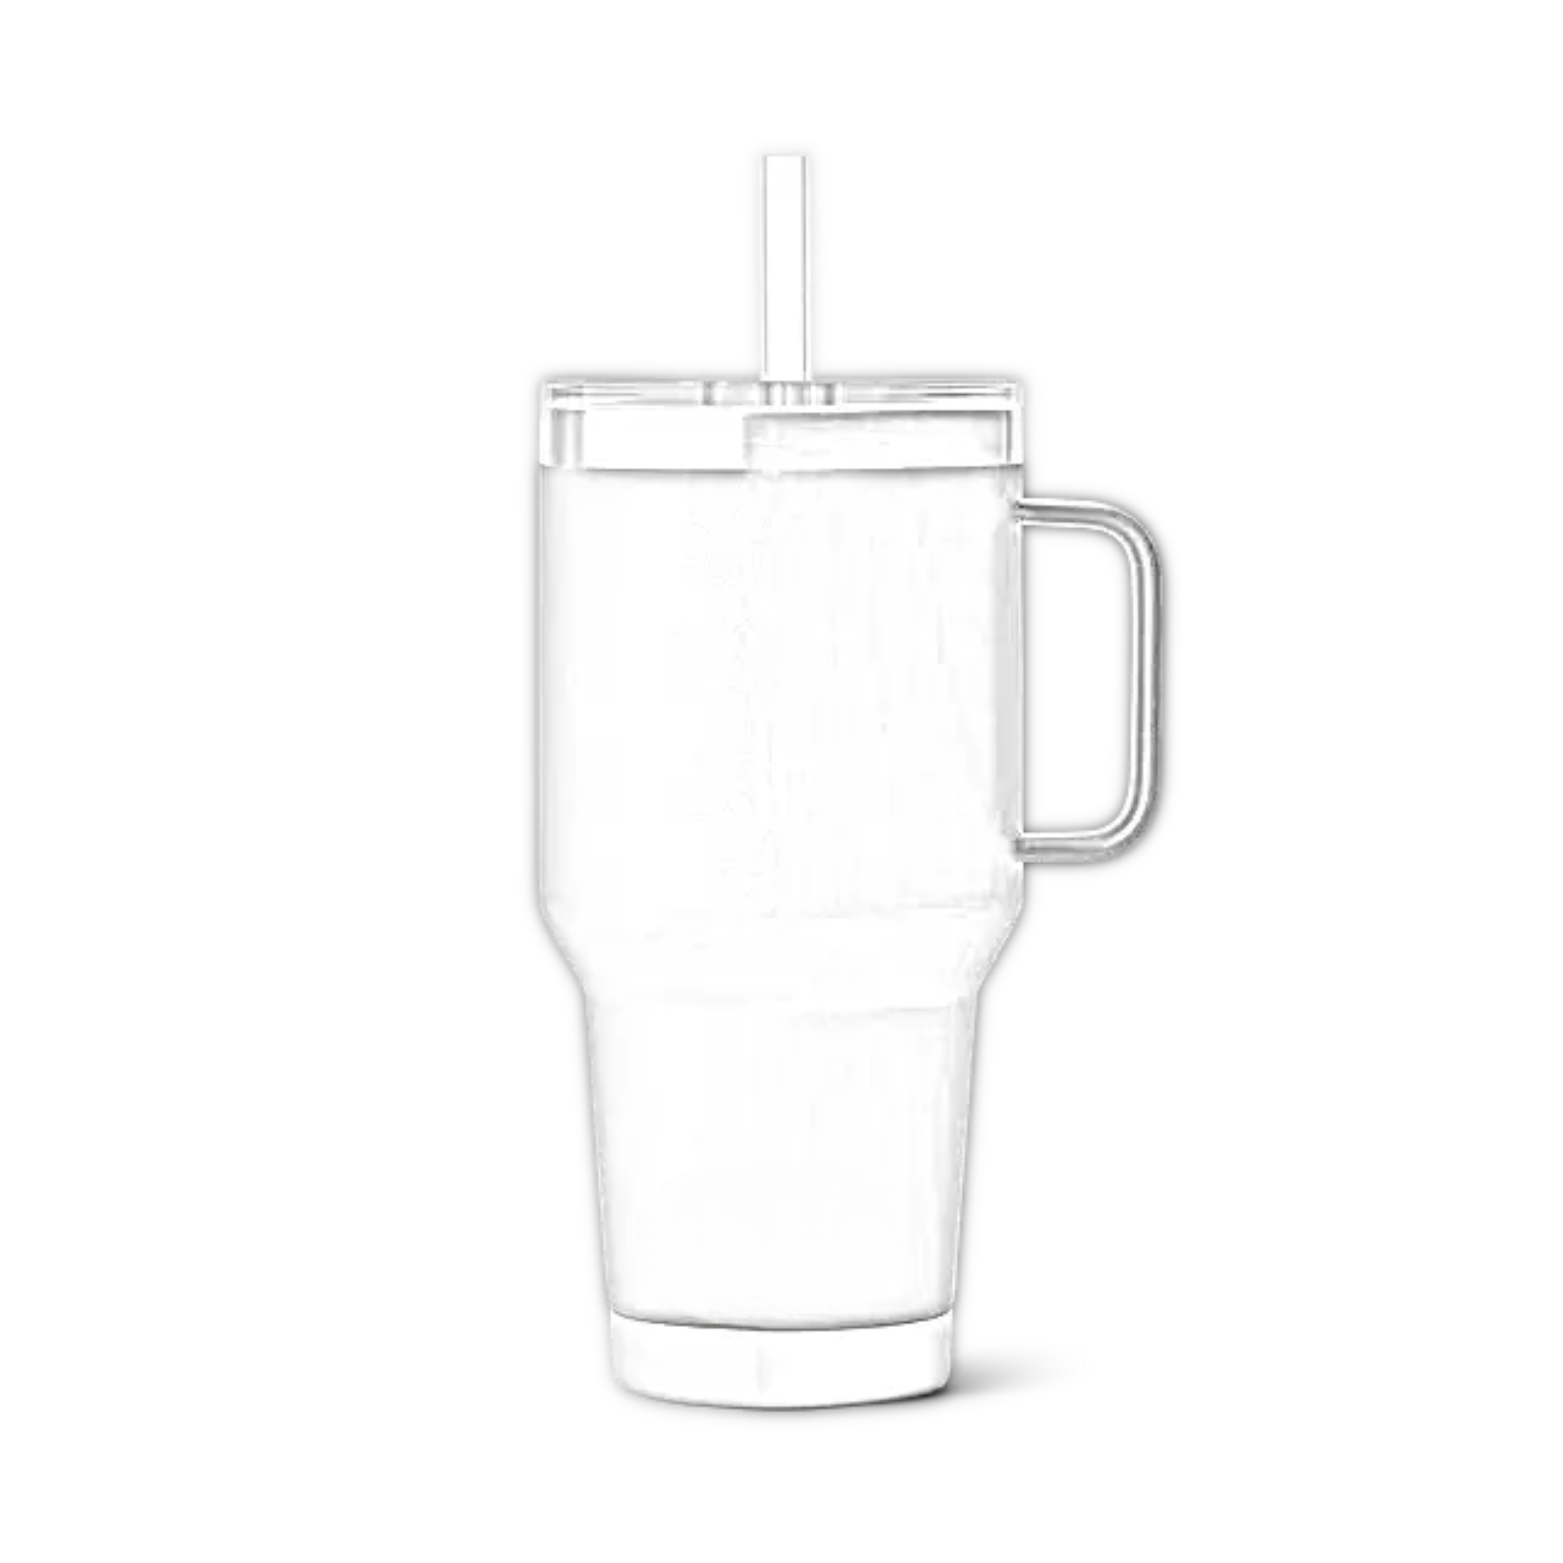
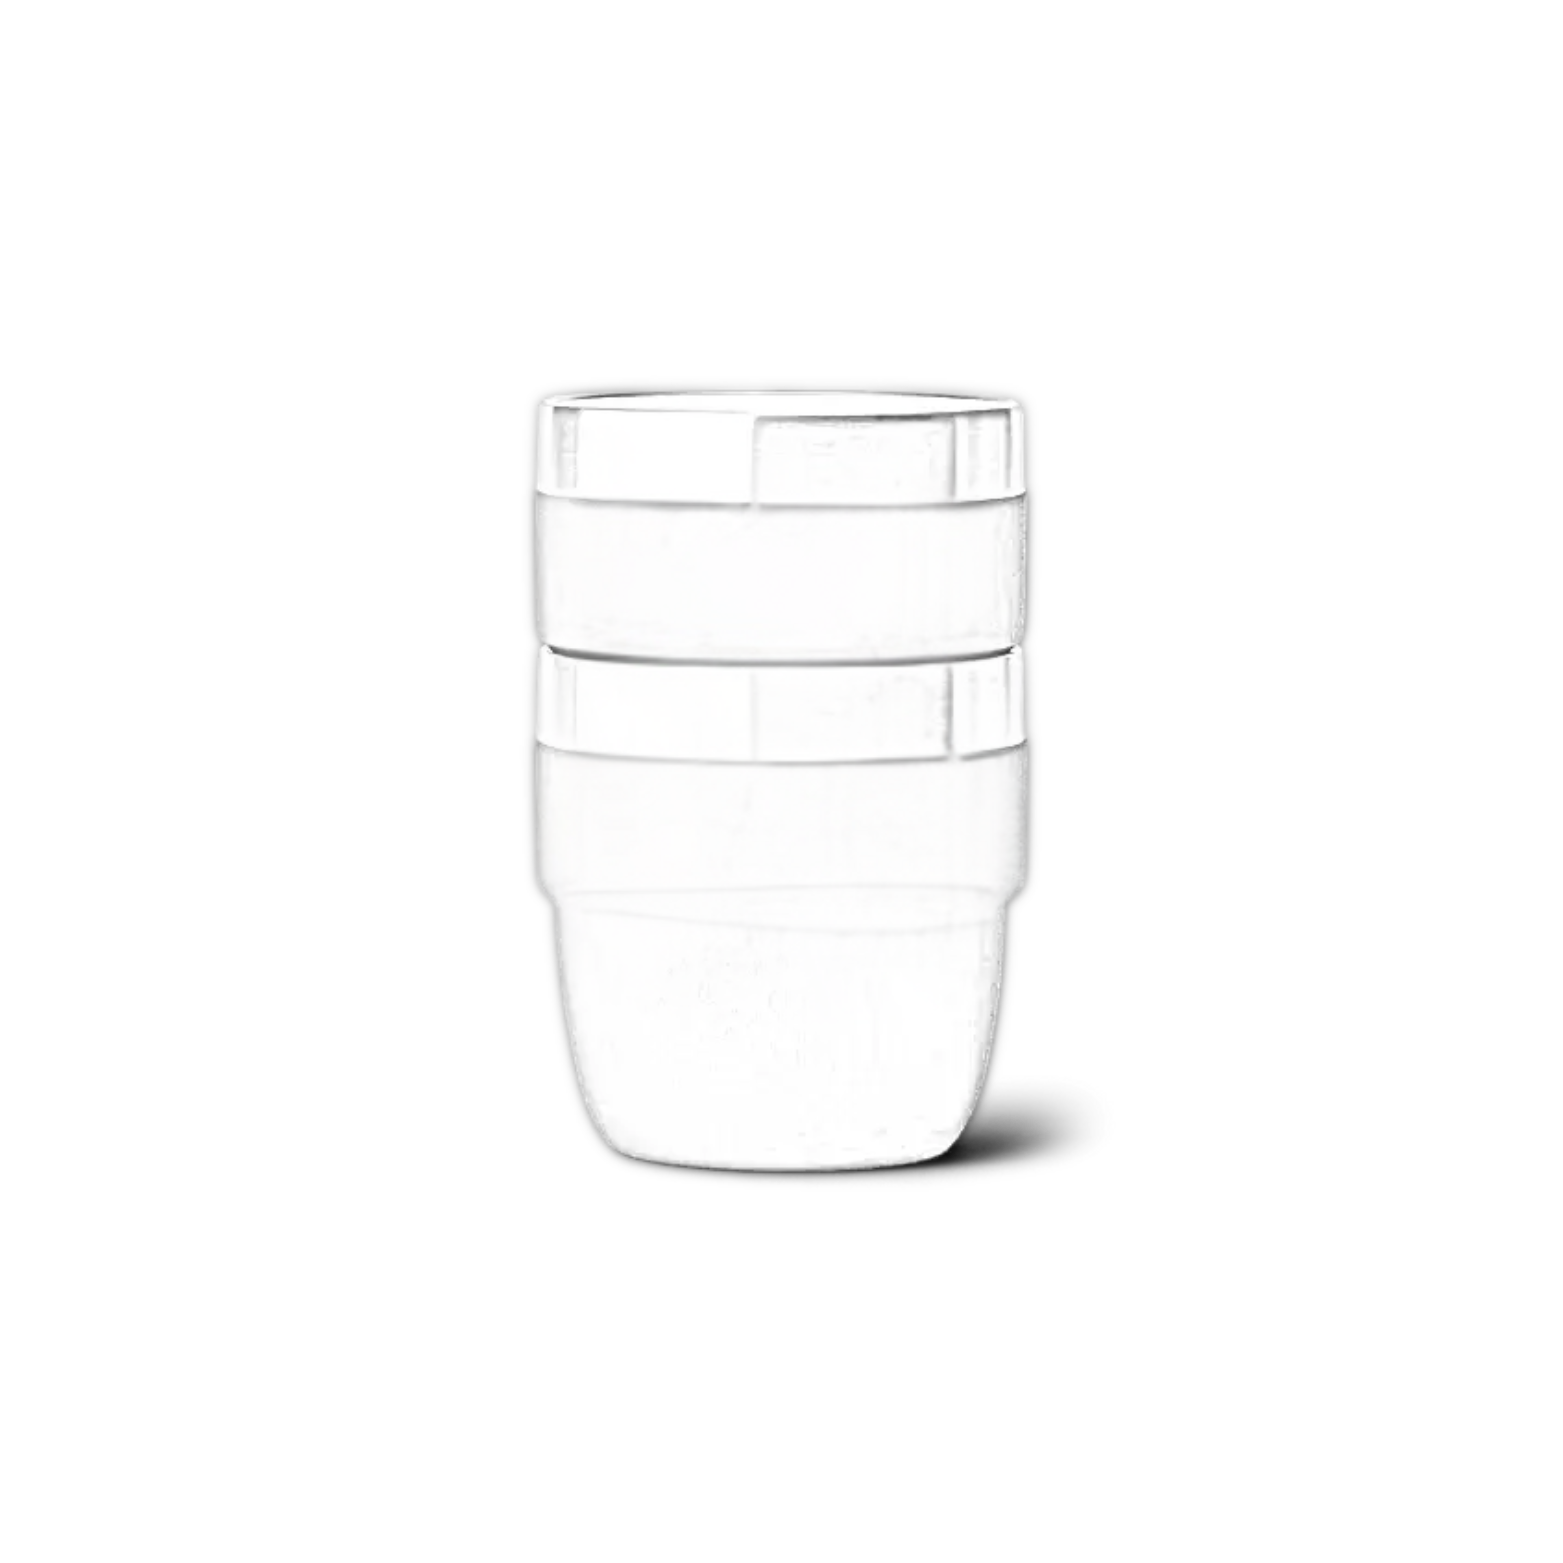
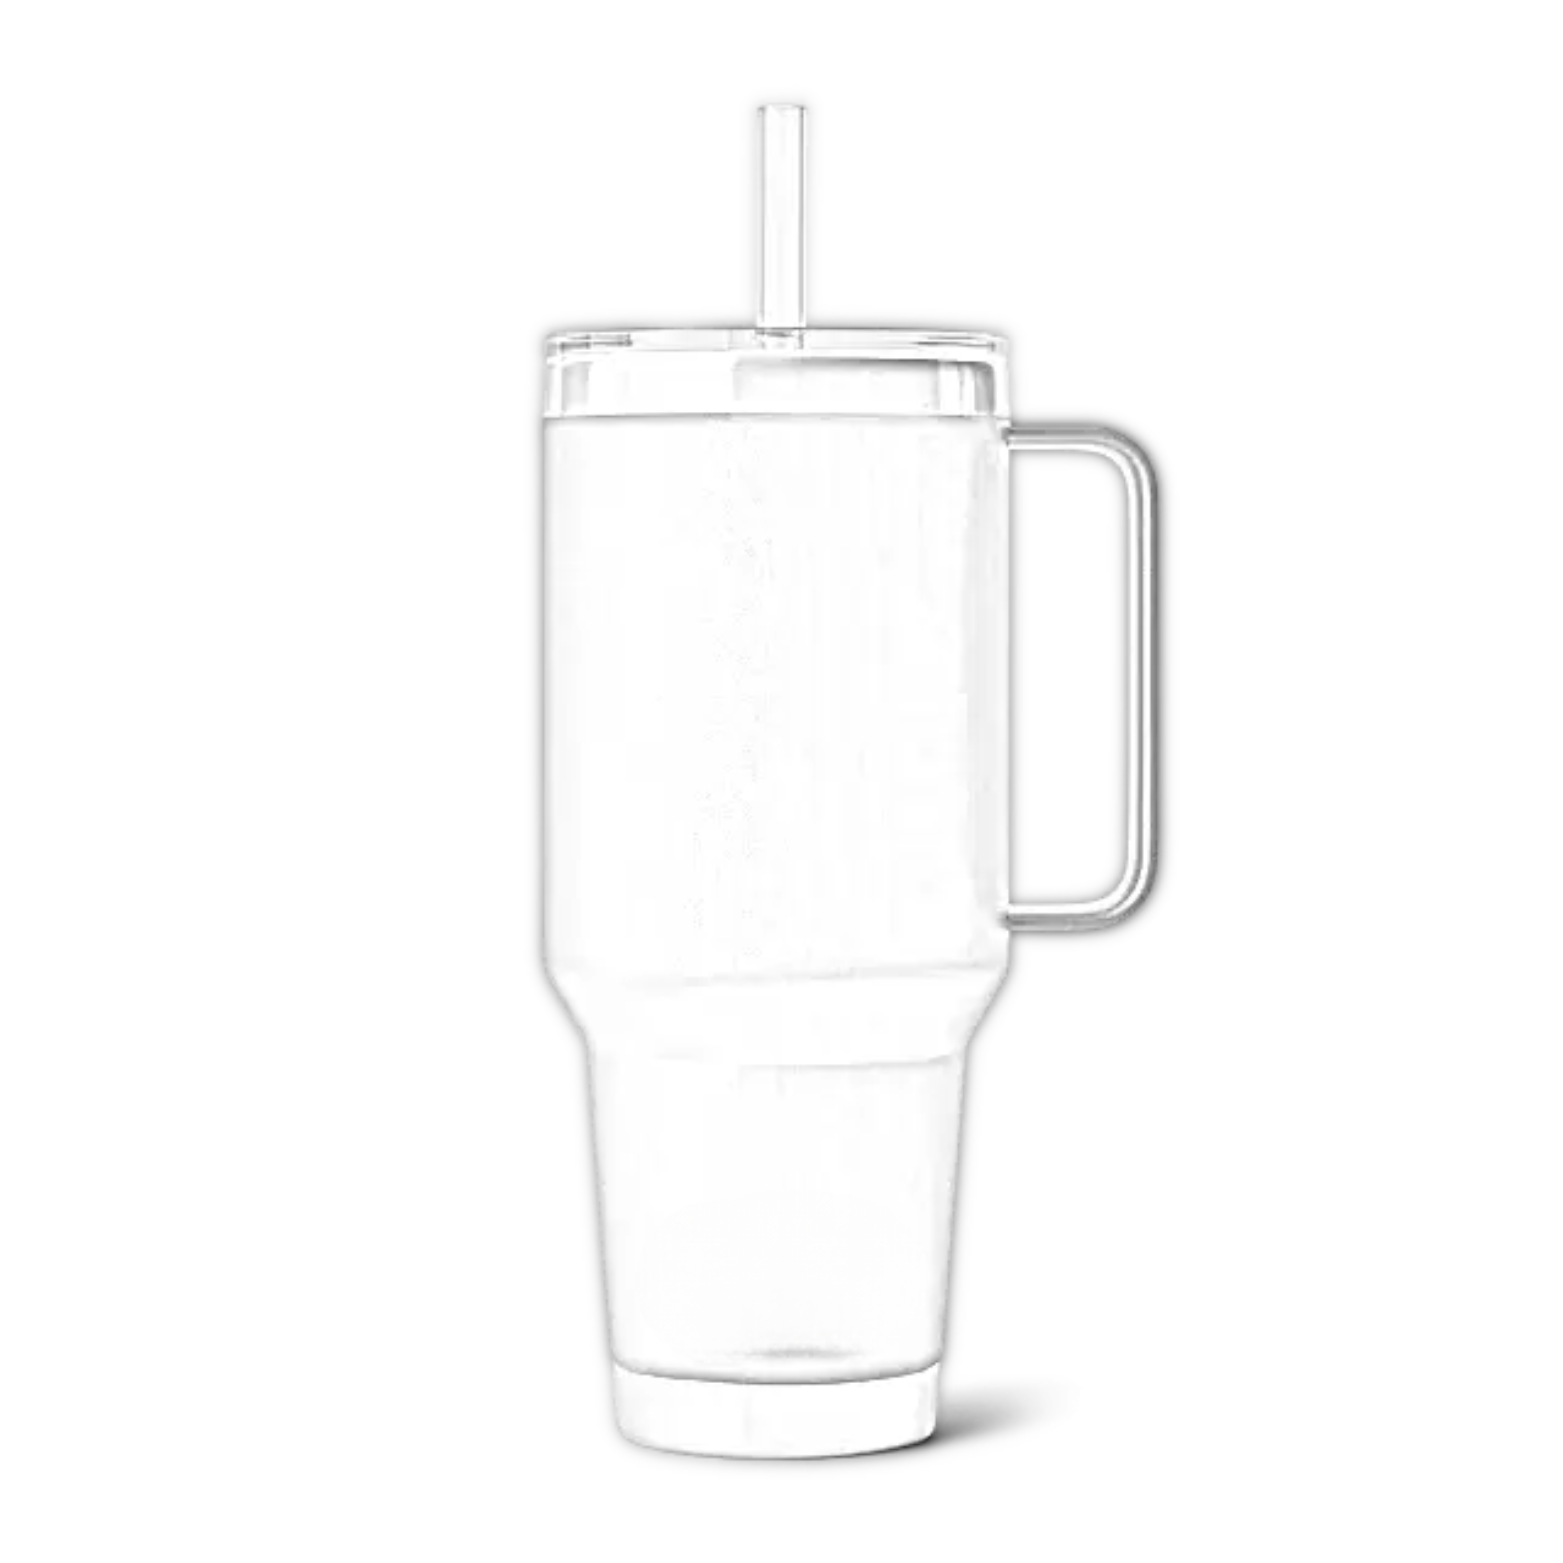
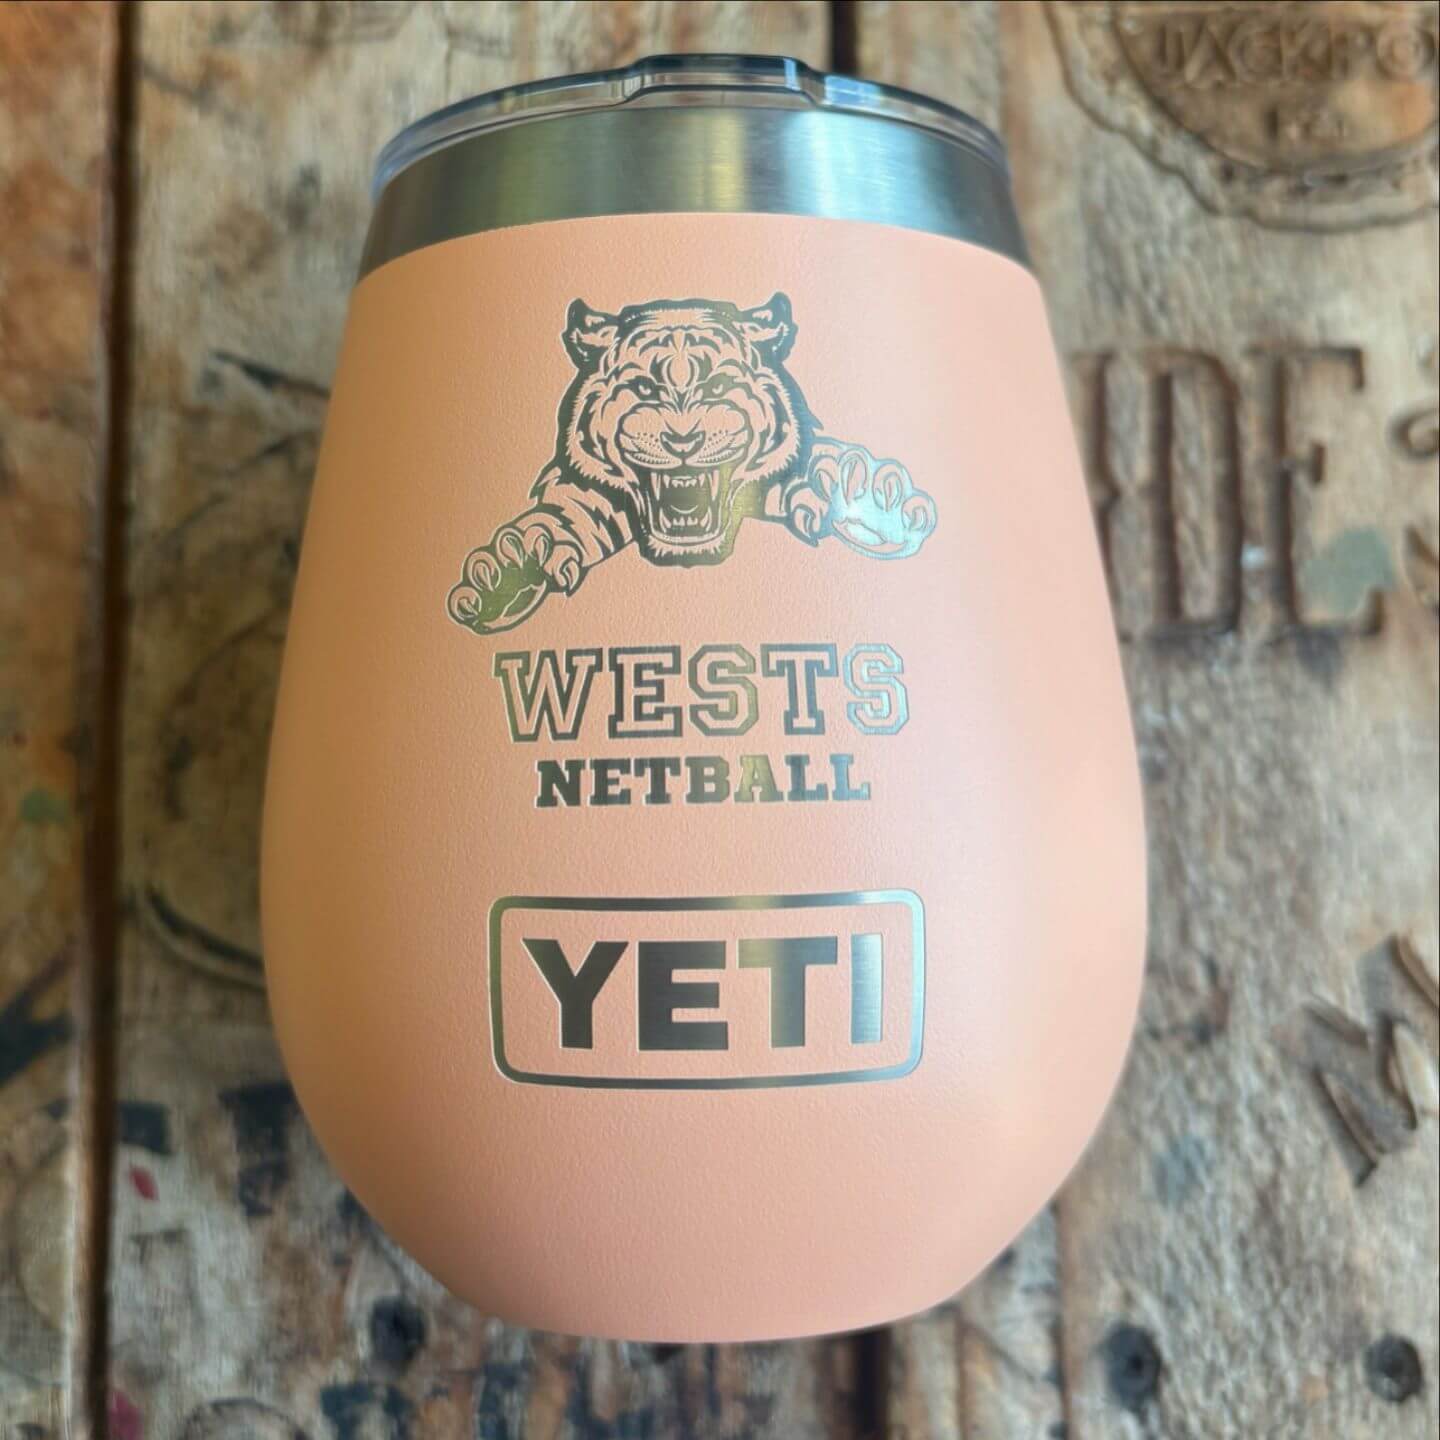
Yeti products have become incredibly popular, known for their durability, sleek design, and impressive ability to keep beverages at the perfect temperature for hours. But did you know that engraving your Yeti can make it even more unique? Whether you’re looking to personalize your Yeti with your name, a favorite design, or a company logo, engraving is a great option that adds style, prevents mix-ups, and makes it an ideal custom gift. In this blog post, we’ll walk you through how to engrave a Yeti, from the tools you’ll need to each step of the process.
Why Engrave a Yeti?
Getting your Yeti engraved has several benefits:
- Personalization: Engraving turns a standard Yeti into something uniquely yours.
- Durability: Unlike decals or stickers that can peel or fade, laser engraving is permanent and can withstand heavy use.
- Gift Appeal: Engraved Yetis make thoughtful, personalized gifts for friends, family, employees, or clients.
- Branding: For businesses, an engraved logo on a Yeti tumbler or bottle can make a lasting impression and showcase your brand.
Let’s dive into the steps and tools needed to engrave your Yeti drinkware!
Step 1: Gather Your Tools
To engrave a Yeti, you’ll need a few key tools and equipment:
-
Fiber Laser Engraving Machine: Fiber lasers are the preferred tool for engraving stainless steel surfaces like those on Yeti drinkware. They offer high precision and work especially well on metal and powder-coated surfaces.
-
Rotary Attachment (Optional): If you’re engraving a round Yeti product (such as a tumbler or bottle), a rotary attachment rotates the item, allowing the laser to engrave evenly around the curve.
-
Protective Gear: Safety glasses are essential to protect your eyes from laser exposure.
-
Design Software: Software such as Adobe Illustrator or CorelDRAW allows you to create and edit your engraving design. Many engraving machines come with compatible software to set up designs.
Step 2: Design Your Engraving
With your tools ready, it’s time to create or select your design. This is one of the most important steps in the engraving process.
-
Choose Your Design: Decide if you want to engrave a name, logo, or custom graphic. The design should be clear and simple, as intricate details may not translate well on the curved surface of a Yeti.
-
Convert to Vector Format: Most engraving machines require designs in vector format (like .SVG, .AI, or .EPS files). Vector designs ensure high-resolution engraving and are easily resized without losing quality.
-
Adjust Size and Position: Measure your Yeti item and resize the design to fit perfectly. Many engraving software programs allow you to preview your design on a virtual model, so you can make sure it fits well before engraving.
Step 3: Prepare Your Yeti for Engraving
Before engraving, it’s important to prepare your Yeti product to ensure the best results.
-
Clean the Surface: Wipe down your Yeti with a microfiber cloth to remove any dust, fingerprints, or oils that could affect engraving quality.
-
Secure in the Engraving Machine: Place your Yeti in the engraving machine’s work area. If you’re engraving a tumbler or bottle, use a rotary attachment to keep the Yeti steady and in perfect alignment as the laser engraves.
-
Align the Laser: Ensure the laser is aligned with the exact spot you want to engrave. Many fiber laser machines have a preview function or a red dot pointer to help you check alignment before starting.
Step 4: Set Up Laser Parameters
Setting the correct laser parameters is essential for achieving a clean and precise engraving.
-
Select Power and Speed Settings: Different materials require different laser settings. For a powder-coated Yeti, you’ll typically want medium to high power with moderate speed, which ensures the laser burns through the coating but doesn’t penetrate too deeply.
-
Choose Frequency: The frequency controls how dense the laser pulses are, which affects the smoothness of the engraving. Lower frequencies are often better for detailed designs, as they provide higher contrast.
-
Run a Test Engraving (Optional): If you’re new to engraving Yetis, try a test engraving on a scrap piece of metal or an inexpensive tumbler. This will help you see how the settings will look on your Yeti.
Step 5: Start Engraving
With everything set up, you’re ready to start the engraving process!
-
Run the Laser: Begin the engraving process and closely monitor it, especially if it’s your first time engraving a Yeti. Fiber lasers typically work quickly, so your design should start appearing in seconds.
-
Check Quality: Once complete, inspect the engraving for clarity and completeness. If any adjustments are needed, you can run another pass with the laser or adjust the settings.
Step 6: Final Cleaning and Finishing Touches
After engraving, it’s time to clean and admire your work!
-
Remove Residue: Engraving can leave behind a fine layer of dust. Use a microfiber cloth to gently wipe away any residue from the engraved area.
-
Inspect the Design: Check the engraving for any sharp edges or rough spots. Laser engraving typically leaves a smooth finish, but if there are any rough edges, gently buff them out with a soft cloth.
-
Enjoy Your Custom Engraved Yeti!: Your Yeti is now personalized and ready for use! Whether it’s for yourself or a gift, an engraved Yeti is bound to stand out.
FAQ: Engraving Yeti Drinkware
1. Does engraving damage Yeti insulation?
No, engraving does not affect the insulation of Yeti products. The laser engraving process only removes the powder coating or a small portion of the stainless steel surface, so the insulation remains intact.
2. Can any Yeti product be engraved?
Most stainless steel Yeti products can be engraved. Items with a powder-coated finish work exceptionally well, as the laser can create a high-contrast design by removing the coating. However, plastic items cannot be engraved using the same methods.
3. How long does it take to engrave a Yeti?
Engraving time varies based on the complexity of the design and the laser’s speed settings. Simple designs may take only a few minutes, while more intricate designs may require 10-15 minutes.
4. Can I engrave a Yeti at home?
Engraving a Yeti requires a fiber laser machine, which is a professional-grade tool. Attempting to engrave with at-home tools or other methods can damage the product. For high-quality results, it’s best to go to a professional engraving service.
Wrapping Up
Engraving a Yeti is a great way to personalize a high-quality, durable piece of drinkware that’s already built to last. By following these steps or working with a professional engraver, you can make your Yeti unique with a design that reflects your style, your brand, or a meaningful memory. Interested in getting your Yeti engraved? [Your Business Name] offers custom engraving on all Yeti drinkware in Australia. Contact us today to learn more about our engraving services and start customizing your Yeti!


